
Ubuntu on Raspberry Pi


How I got Groovy Gorilla (Ubuntu 20.10) on Raspberry Pi 400

Raspberry Pi 400 is an awesome Raspberry Pi 4 device which comes packaged in a keyboard. Just hook it up to monitors and you got a working computer. Raspberry Pi 400 comes with a Raspberry Pi OS preinstalled, but it has it's quirks.

I bought Pi 400 to replace my 10 year old laptop which couldn't handle the abuse anymore. My primary use of the Pi 400 is to use it as a workstation and to connect to my work computer over Citrix. There are 2 issues with out-of-the-box Raspberry PI OS which forced me to get back to Ubuntu which is my OS of choice for 15+ years.
  1. Citrix could not use both monitors. Though I spent decent number of hours to attempt to use different desktop manager, it just didn't work.
  2. Getting sound output to a Bluetooth headset was pain in the neck. Still didn't work reliably all the time.

Now, coming to the point, installing Ubuntu on Raspberry Pi.
 

Load Ubuntu for Pi hardware on micro SD card

I used another Ubuntu laptop with SD card reader to flash Ubuntu on micro SD card. Though one could use a SD card reader though a USB port on Raspberry Pi, I choose to use a ready to go laptop. Here is how I loaded Ubuntu to SD card,

  1. Inserted micro SD card in a SD card adapter and stuck that in a SD card slot on a laptop
  2. Installed snap image of rpi-imager using sudo snap install rpi-imager

  3. Started rpi-imager from terminal
  4. Clicked CHOOSE OS button and then Other general purpose OS > Ubuntu > Ubuntu Desktop 20.10 (RPi 4/400)


  5. Once OS is selected clicked CHOOSE SD CARD button
  6. On the SD Card selection panel I only have one SD card to choose from
  7. Once SD card is selected I am brought back on to main panel where I can see selected OS and SD card
  8. Clicked Write to start writing to SD card
  9. As my SD card had data (I assume), I am presented with a warning. As I care less about the data on the card I clicked Yes to erase all data on it
  10. Once writing started it took good 15 minutes to complete writing on my SanDisk SD card with class 10 rating
  11. After writing it took another 5 minutes to complete verification
  12. Once process completed I am asked to remove the SD card
  13. That is it my SD card is ready to be booted on Pi

Install Ubuntu on Raspberry Pi


Installing Ubuntu on Pi is pretty similar to installing on any other hardware. If you are not familiar with installation process read along.
  1. Inserted the micro SD card with Ubuntu on it in the micro SD card slot on Pi 400 and powered it on
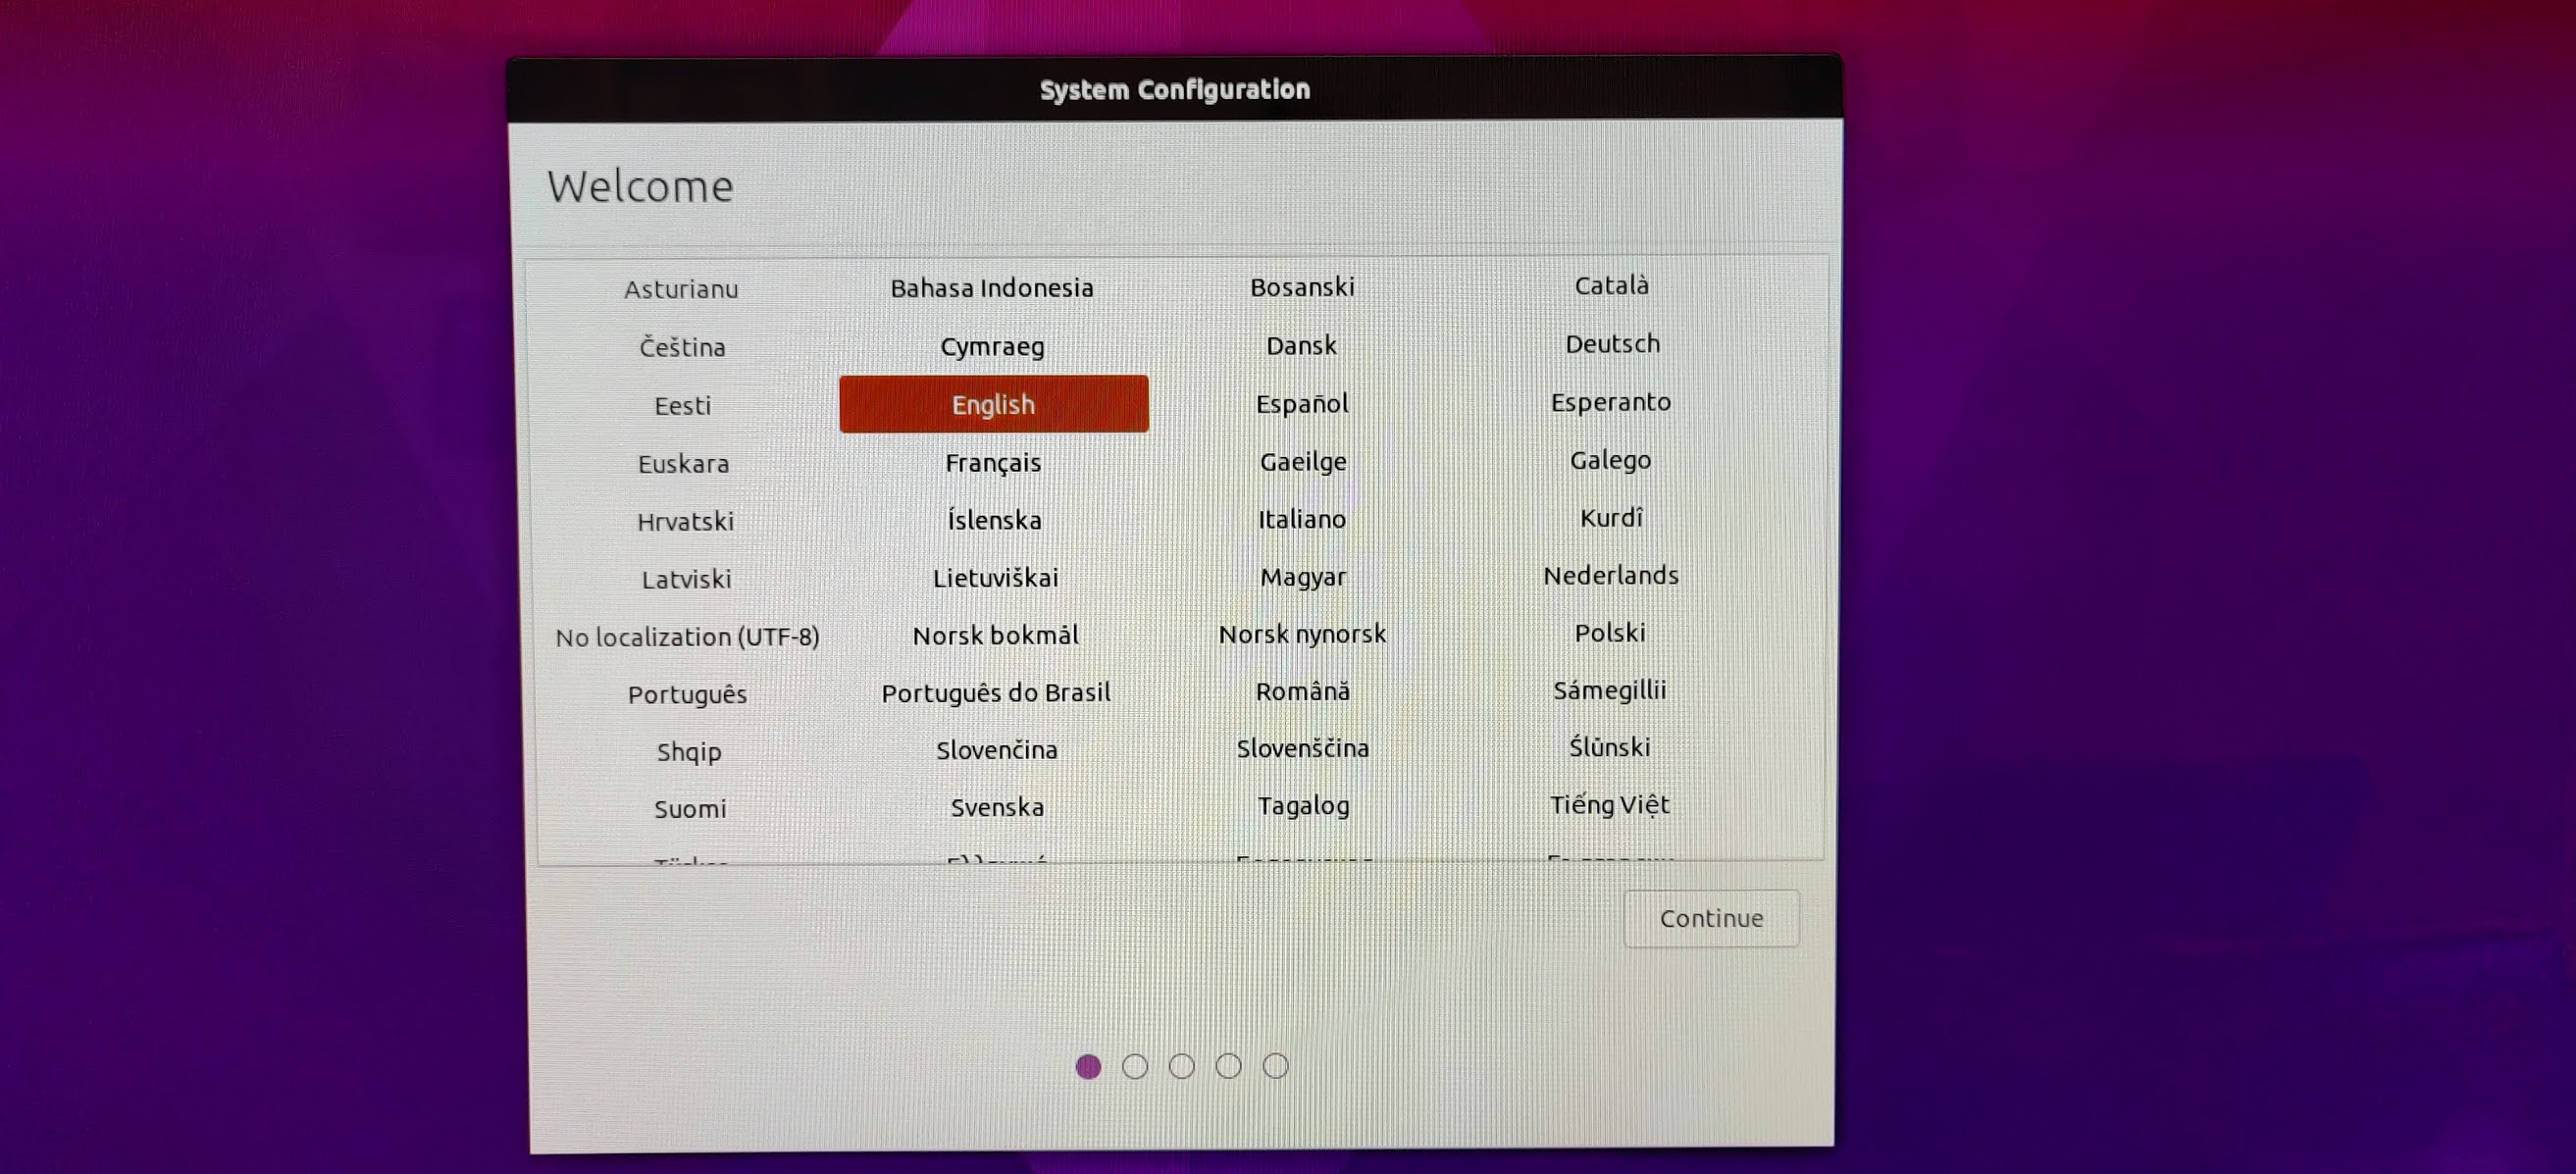
  2. First screen is the language selection screen on which I choose English

  3. Next I am presented with Keyboard layout selection screen. It recognized English (US) layout correctly

  4. On Wireless screen I connected to my WiFi by providing it credentials when asked

  5. On Timezone screen it correctly located me in New York i.e. Eastern time zone

  6. Provided a user and password to use to login

  7. Sat back and relaxed as installer did rest of it on its own. It took about 5 minutes to complete the installation

  8. Now I am presented with a login screen

  9. Once logged in, voila! my desktop is fully functional

Now my Bluetooth headset connected without a hitch. I had to jump some hoops to get Citrix workspace installed as I jotted down notes in Install Citrix Workspace on Raspberry Pi.

References: 

Comments

Post a Comment

Popular posts from this blog

Multi threading in SpringBoot Application

How I got my SpringBoot application to execute a service in multiple threads Enabled SpringBoot application run Async tasks Defined a service method which can be invoked asynchronously and returns CompletableFuture object as required by Spring Let Spring manage service component instance Though not required, configured TaskExecutor Spring could use Enable SpringBoot application to run tasks asynchronously To be able to execute tasks using multiple threads asynchronously SpringBoot application must be annotated with @EnableAsync .   I defined this annotation right after   @SpringBootApplication . @SpringBootApplication @EnableAsync public class NosqlApplication implements CommandLineRunner { Logger logger = LoggerFactory. getLogger (NosqlApplication. class ) ; Aync service method returning CompletableFuture object Spring could invoke tasks synchronously and asynchronously. To be able to invoke tasks asynchronously (and let main thread do other things) I annotated the service method

Install Citrix Workspace on Groovy Gorilla on Raspeberry Pi

  How I got Citrix Workspace working on Groovy Gorilla (Ubuntu 20.10) on Raspberry Pi 400 At first installing Citrix on Ubuntu may seem like a no brainer, but because how Ubuntu and Citrix have packaged software for Raspberry Pi, it is pain in the neck to get it working correctly.  What is the issue? When I installed Ubuntu on Raspberry Pi hardware, t he only package available for Pi 4/400 was 64 bit, but Citrix has  only ARMHF packages for raspberry Pi which is 32 bit. Technically 32 bit package should work on 64 bit architecture without a fuss, but for whatever reason Citrix package checks if package to be installed matches OS bit level. Attempting to install the package as well as subsequent system updates report failure. More over Software Center can't install or remove software complaining broken packages on the system. First let me tell you how I installed Citrix then will go on fixing issue. Prepare system for Citrix installation Check system architecture using dpkg --print

Configuring Spring Framework with YAML

Spring application can be configured using YAML as effectively as using properties file. With YAML file one can, Create environment specific profiles Define properties at application level Define (or override) properties at profile level Spring Framework loads application.yml by default just the way it loads application.properties. If you want to change the name of the yml file you'll have to use context loader to tell what file to look for. Must knows of the yml based configuration Profiles - YML supports multiple profiles in a single file. One can define environment specific configurations as profiles in a single file. Profiles separator - YML configuration file uses 3 dashes ( --- ) to separate a profile. Every property you define after --- is specific to that profile. Profile name - Give profile a name using spring.config.activate.on-profile property. Active profile(s) - Define which profile or profiles are active using spring.profiles.active property. More than one profile c